
TL;DR:
- Effective patient transfer coordination involves a structured, documented sequence from referral to arrival, with clear ownership at each step. Ensuring senior clinician acceptance, complete transfer packets, verified authorization, and confirmed arrival safeguards patient safety and operational efficiency. Automated workflows and standardized templates help maintain accountability, reduce delays, and improve transfer outcomes.
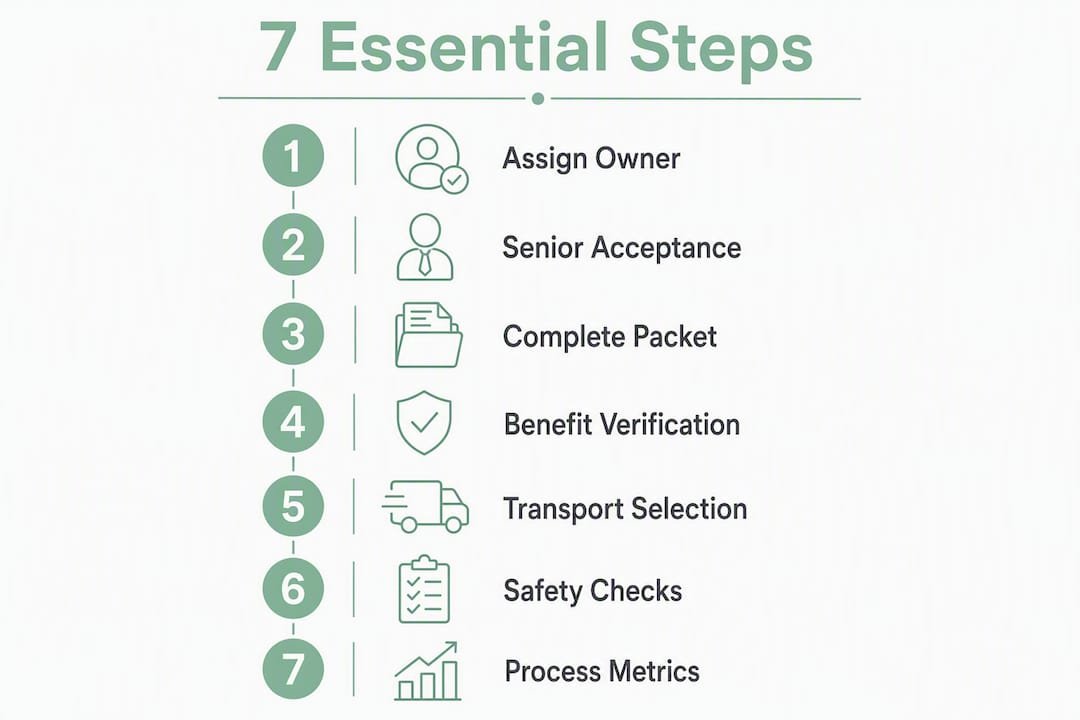
Effective patient transfer coordination follows a single repeatable sequence: capture the referral, obtain senior clinician acceptance, assemble a complete transfer packet, verify insurance authorization, book and confirm transport, and close the loop with a formal arrival handoff. Every step must be owned, documented, and confirmed — not assumed.
Core steps at a glance:
- Referral intake with standardized data capture
- Clinical triage and senior clinician acceptance
- Transfer packet assembly (facesheet, orders, meds, directives)
- Insurance and prior authorization verification
- Transport booking with equipment and ETA confirmation
- Arrival confirmation and formal handoff
Safety callout: Per safe patient handling guidelines, if any caregiver must lift more than 35 lb of a patient’s weight, classify the patient as fully dependent and use mechanical assistive devices. Transport also creates physiological stressors that can harm patient outcomes when pre-transfer stabilization is skipped.
Table of Contents
- How to coordinate patient transfers: the step-by-step checklist
- Who does what during a patient transfer
- Clinical safety checks every transfer requires
- What belongs in the transfer packet and why EMR integration matters
- Verifying benefits and authorizations before the transfer moves
- Selecting transport mode and confirming logistics
- Metrics that show whether your transfer process is working
- Key Takeaways
- The operational case for closed-loop transfers
- Smartadmissions cuts transfer coordination time at every step
- Authoritative sources and templates for your admissions team
How to coordinate patient transfers: the step-by-step checklist
Follow these six steps in order. Assign a named owner to each stage before the transfer begins.
-
Intake (target: within 30 minutes of referral). Capture demographics, referring facility contact, reason for transfer, current clinical status, and payer information using a standardized intake form. Assign one admissions coordinator as the single point of contact. Admissions coordinator best practices recommend locking this ownership role before any clinical review begins.
-
Clinical triage and acceptance (target: under 2 hours for routine referrals). A senior clinician reviews urgency, assigns a risk category, and documents formal acceptance. Higher-risk patients require escalation to the medical director or on-call physician before acceptance is confirmed. Never treat verbal acceptance as closed — it must be documented in the EHR.
-
Authorization and eligibility verification (start before acceptance when possible). Confirm payer, coverage dates, prior authorization requirements, benefit limits, and transport allowances. Resolving these within the same business day prevents bed-hold delays. See the insurance section below for the full verification checklist.
-
Transfer packet assembly. Compile facesheet, current physician orders, full medication list with administration times, allergy list, primary diagnosis, advance directives, feeding and turning schedules, oxygen orders, and emergency contact numbers. A complete packet prevents “arrival-without-orders” problems at the receiving facility.
-
Transport booking and confirmation. Select the appropriate transport mode based on clinical acuity, confirm equipment and staffing, and set a firm ETA window. Require a status update at departure and at arrival.
-
Arrival handoff and closed-loop confirmation. The receiving clinician signs acceptance on arrival, and admissions confirms bed readiness. Closed-loop communication — every request tracked, accepted by a senior clinician, and confirmed at arrival — is the single most reliable safeguard against patients or records being lost mid-transfer.
Pro Tip: Name one coordination owner before Step 1. When ownership is shared across two or three staff members without a designated lead, last-minute gaps appear at exactly the wrong moment — usually during transport.
Who does what during a patient transfer
Clear role assignment prevents dropped handoffs. The table below maps typical tasks to the staff member who owns them.
| Role | Primary Responsibilities |
|---|---|
| Admissions coordinator | Referral intake, packet assembly, insurance verification, transport booking |
| Admitting RN | Clinical stability check, medication reconciliation, equipment orders |
| Accepting clinician (MD/NP/PA) | Formal acceptance, pre-transfer risk assessment, escalation decisions |
| Transport coordinator | Mode selection, vendor confirmation, ETA tracking |
| Family contact lead | Patient and family communication, consent documentation |
The AMC-PSO task force recommends a centralized admissions facilitator who manages transfer requests, aligns IT infrastructure, and acts as a single control point for acceptance and transport. For facilities handling high referral volumes, centralized referral tracking reduces the risk of requests falling through the cracks.
SBAR handoff template for the referring clinician:
- S (Situation): Patient name, age, current location, reason for transfer
- B (Background): Relevant medical history, recent labs, imaging results, current medications
- A (Assessment): Current clinical status, acuity level, risk category assigned
- R (Recommendation): Transport mode requested, equipment needed, receiving bed level, urgency
Using SBAR consistently reduces follow-up questions and speeds senior clinician acceptance.
Clinical safety checks every transfer requires
Transport creates real physiological risk. Pre-transfer stabilization, monitoring during transit, and a structured handover are the three elements that protect patient outcomes during any inter-facility move.
Before any patient leaves your facility, document:
- Vital signs trend over the prior 4–6 hours
- Oxygen requirements and delivery method
- Active infusions, monitoring lines, or wound care needs
- NEWS or PEWS score for higher-acuity patients
- Weight-bearing status and mobility level
Safe-lift rule: If a caregiver must lift more than 35 lb of the patient’s weight, classify the patient as fully dependent and use mechanical assistive devices — a sling lift, slide board, or ceiling track system as appropriate. Most facilities require two caregivers to operate a mechanical lift safely.
Equipment checklist before transport:
- Portable oxygen with sufficient supply for the full trip plus a 30-minute buffer
- Suction equipment if aspiration risk is documented
- Feeding pump and supplies for transfers exceeding 4 hours
- Continence supplies and pressure-relief padding
- Bariatric equipment if patient weight exceeds standard transport capacity
Contingency triggers that require delaying or upgrading transport level: deteriorating vitals, escalating oxygen needs above the documented baseline, or a new change in mental status within 2 hours of scheduled departure.
Pro Tip: Include one clinician on the pre-departure call for complex patients. Confirming the transporter’s competencies — IV management, oxygen titration, seizure protocols — takes under five minutes and prevents a mismatch between patient acuity and transport capability.
What belongs in the transfer packet and why EMR integration matters
A standardized transfer packet is the difference between a smooth admission and a two-hour delay at the receiving facility. The mandatory contents:
| Packet Item | Purpose |
|---|---|
| Facesheet | Demographics, insurance, emergency contacts |
| Current physician orders | Guides immediate care decisions on arrival |
| Full medication list with times | Prevents missed doses and reconciliation errors |
| Allergy list | Safety requirement before any medication is given |
| Primary diagnosis and secondary conditions | Orients receiving clinical team |
| Advance directives / code status | Legal and clinical compliance |
| Feeding, turning, and oxygen schedules | Continuity for dependent patients |
| Transport requirements | Equipment and staffing needs for the move |
EMR integration eliminates the most common failure point: records that don’t travel with the patient. When your facility uses EMR integration for referrals, discharge and transfer orders transmit directly to the receiving EHR, reducing rework and giving the receiving team real-time access before the patient arrives. Digital tools for screening and recording physiologic observations also support automatic escalation of at-risk patients during the transfer window.
Pro Tip: Require the referring clinician to create a discharge or transfer order in the EHR — or attach a completed standardized packet — before the patient leaves. This single policy change eliminates most “arrival-without-orders” calls.
Verifying benefits and authorizations before the transfer moves
Authorization delays are the most preventable cause of transfer hold-ups. Start verification at the same time as clinical triage, not after acceptance.
Verify immediately:
- Payer name and member ID
- Coverage effective dates and benefit period remaining
- Prior authorization requirements for the receiving level of care
- Benefit limits (skilled days, therapy visits, inpatient caps)
- Transport allowances and any rider policies
Follow the patient eligibility verification checklist to confirm all ten verification steps before the transfer packet is finalized.
When authorization is delayed:
- Call the payer’s provider line directly; document the representative’s name, call time, and reference number
- Cite the clinical urgency in writing and request expedited review
- Loop in utilization review or case management if no decision within 4 hours
- For clinically urgent transfers, proceed and document the payer conversation thoroughly for retroactive approval
Never hold a clinically urgent transfer for a pending authorization. Document everything — the payer conversation, the clinical rationale, and the staff member who made the decision.
Selecting transport mode and confirming logistics
Match transport level to clinical acuity. The table below covers the most common options.
| Transport Mode | Typical Use Case |
|---|---|
| Wheelchair van | Ambulatory or minimally assisted patients, no monitoring needed |
| Stretcher van | Non-ambulatory patients, stable vitals, no active IV or oxygen |
| BLS ambulance | Stable patients requiring basic monitoring or oxygen |
| ALS ambulance | Patients with active IV therapy, cardiac monitoring, or moderate acuity |
| Commercial medical transport | Long-distance stable transfers, often with a nurse escort |
| Air transport | Time-critical or geographically isolated high-acuity transfers |
Before confirming any vendor, verify: equipment and monitoring capability, staff competencies for the patient’s specific needs, ETA windows, family rider policies, and pricing inclusions (mileage, tolls, and stops).
For long-distance transfers over 300 miles, document tube feeding schedules, swallow precautions, and turning schedules explicitly. The sending team provides this clinical documentation; the transport provider confirms the travel plan and staffing before departure.
Pro Tip: Require a pre-departure call between the referring clinician and the transporter for any patient with complex needs. Transporter competencies vary significantly, and a five-minute call prevents a dangerous mismatch mid-route.
Metrics that show whether your transfer process is working
Track these KPIs to identify bottlenecks and measure improvement over time.
| Metric | Description | Sample Target |
|---|---|---|
| Referral-to-accept time | Time from referral receipt to documented clinician acceptance | Under 2 hours (routine) |
| Acceptance-to-transport booking | Time from acceptance to confirmed transport reservation | Same business day |
| Transport ETA adherence | Percentage of transports arriving within the confirmed window | — |
| Closed-loop confirmation rate | Percentage of transfers with documented arrival confirmation | — |
| Transfer-related adverse events | Clinical incidents occurring during or within transfer | Trending toward zero |
Automation reduces referral review time and speeds bed occupancy by removing manual steps from intake, eligibility verification, and packet assembly. A suggested dashboard for clinical leaders should surface referral-to-accept time and adverse event rates; operations leaders need transport ETA adherence and closed-loop confirmation rates. Healthcare workflow automation applied to these steps produces measurable gains in both staff efficiency and bed fill rates.
Key Takeaways
Effective patient transfer coordination requires a named owner, documented senior clinician acceptance, a complete transfer packet, verified authorization, and confirmed arrival — every time, without exception.
| Point | Details |
|---|---|
| Assign one owner immediately | Name a single coordination lead before clinical review begins to prevent handoff gaps. |
| Senior clinician acceptance is mandatory | Document formal acceptance in the EHR — verbal confirmation alone is insufficient. |
| Safe-lift threshold is 35 lb | Any lift exceeding 35 lb of patient weight requires a mechanical assistive device. |
| Verify authorization in parallel | Start eligibility and prior authorization checks at triage, not after acceptance. |
| Smartadmissions automates the checklist | Smartadmissions handles intake routing, eligibility verification, EMR packet transfer, and closed-loop tracking in one platform. |
The operational case for closed-loop transfers
The hardest part of managing patient transfers isn’t knowing the steps. It’s maintaining accountability across a handoff chain where four or five different people each own one piece of the process. Before closed-loop workflows became standard practice, the most common failure wasn’t a clinical error — it was a communication gap. A transport was booked but the receiving nurse wasn’t notified. A packet was assembled but the authorization was still pending. An arrival happened but nobody confirmed it in the system.
Closed-loop communication changes that dynamic because it makes every gap visible. When a transfer request is tracked from intake through arrival confirmation, the missing step shows up as an open item, not a silent failure. Families notice this too. A patient who arrives at a skilled nursing facility with complete records, a prepared bed, and a staff member who already knows their care routine has a fundamentally different first experience than one who arrives while staff scramble for orders. That difference matters clinically and operationally. Automation doesn’t replace the clinical judgment in this chain — it removes the manual follow-up that consumes staff time and creates the gaps in the first place.
Smartadmissions cuts transfer coordination time at every step
Faster referral review, fewer lost records, and less staff time on manual follow-up — those are the concrete outcomes admissions teams report when they replace manual transfer workflows with an automated platform.
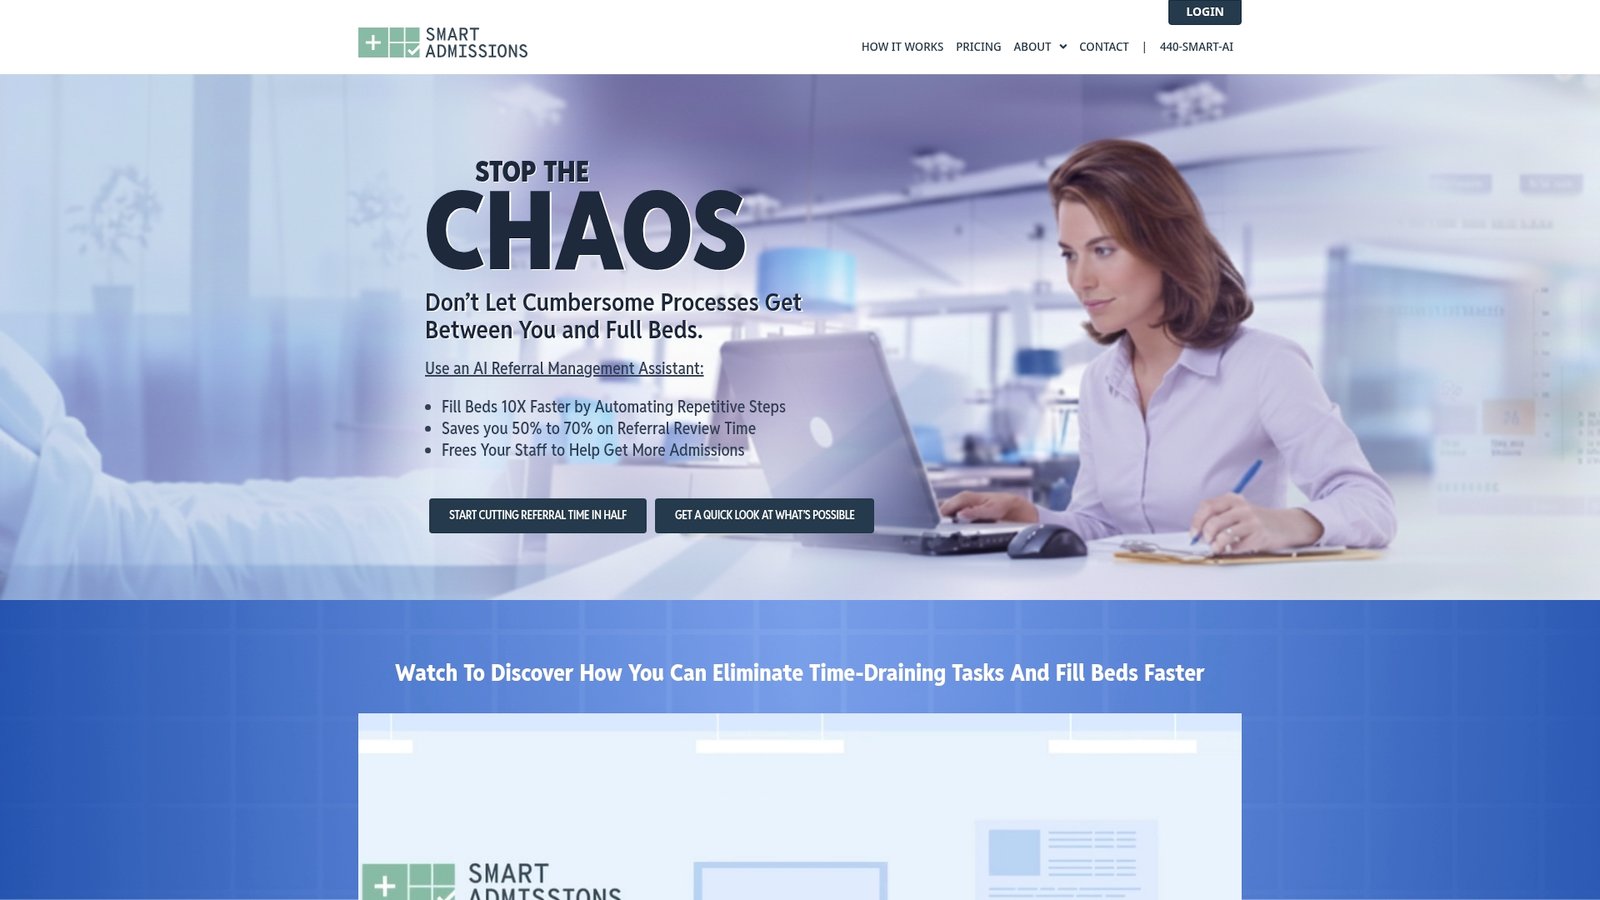
Smartadmissions maps directly to the checklist above. Its AI-powered referral management assistant automates intake routing and triage, runs real-time insurance eligibility verification, integrates with your existing EHR to transmit transfer packets, and tracks closed-loop confirmation from acceptance through arrival. The analytics dashboard surfaces referral-to-accept times, transport ETA adherence, and bed occupancy rates so your operations team can act on data rather than chase paperwork.
For facilities comparing manual versus automated admissions, the difference in staff hours and referral response speed is significant. Smartadmissions is built specifically for skilled nursing, rehabilitation, and post-acute providers — not a generic intake tool adapted for healthcare. Start a free trial or book a demo at smartadmissions.ai to see how the platform fits your current workflow.
Authoritative sources and templates for your admissions team
Use these resources to build or validate your facility’s transfer protocols.
| Resource | Use Case | Workflow Step |
|---|---|---|
| AMC-PSO Interhospital Transfer Framework | Closed-loop communication standards, centralized coordinator model | Roles, documentation |
| NCBI: Inter-hospital Transfer Concepts | Clinical safety, pre-transfer stabilization | Safety checks |
| Medline SPHM Algorithms | Safe-lift thresholds, mechanical device selection | Physical transfer |
| MMT America Long-Distance Transfer Guide | Transfers over 300 miles, care routine documentation | Transport logistics |
| GIRFT Inter-facility Transfer Guidance | SBAR escalation, NEWS/PEWS, digital integration | High-risk transfers |
Downloadable templates to adapt for your facility:
- Transfer packet checklist (maps to Step 4 above)
- SBAR handoff template (maps to the roles section)
- Transport vendor verification checklist (maps to Step 5)
- Escalation pathway for stalled authorizations (maps to the insurance section)
Adapt every template to your facility’s specific policies, payer mix, and state regulations. Document your local escalation paths — who to call, in what order, and what to cite — so any staff member can execute the process without waiting for a supervisor.
This article provides general operational guidance and does not constitute legal, clinical, or regulatory advice. Confirm current requirements with your compliance officer, legal counsel, and applicable state and federal agencies for your specific facility and patient population.